


Installing tile underlayment in the bathroom is a crucial step in any tile installation project. As a bathroom tile supplier, I've seen firsthand how a proper underlayment can make or break the longevity and appearance of your bathroom tiles. In this blog post, I'll guide you through the process of installing tile underlayment in your bathroom, ensuring a solid foundation for your beautiful new tiles.
Why Tile Underlayment is Essential
Before we dive into the installation process, let's understand why tile underlayment is so important. The bathroom is a high - moisture area, and without a proper underlayment, moisture can seep through to the subfloor, causing damage such as rot, mold growth, and tile cracking. A good underlayment acts as a moisture barrier, protecting your subfloor and ensuring that your tiles stay in place for years to come. Additionally, it provides a flat and stable surface for tile installation, reducing the risk of uneven tiles and grout cracking.
Materials and Tools You'll Need
- Underlayment Material: There are several types of underlayment materials available, such as cement backer board, waterproof membrane, and foam underlayment. Cement backer board is a popular choice for bathrooms due to its durability and moisture resistance.
- Measuring Tape: To measure the area of your bathroom floor and cut the underlayment to the correct size.
- Utility Knife: For cutting the underlayment material.
- Drill and Screws: To secure the underlayment to the subfloor.
- Trowel: For applying thin - set mortar if using a waterproof membrane.
- Level: To ensure the underlayment is installed flat.
- Safety Gear: Gloves, safety glasses, and a dust mask to protect yourself during the installation process.
Step 1: Prepare the Subfloor
The first step in installing tile underlayment is to prepare the subfloor. Start by thoroughly cleaning the subfloor to remove any dirt, dust, or debris. Check for any uneven areas, loose boards, or damage. If the subfloor is uneven, you may need to use a self - leveling compound to create a flat surface. Make sure the subfloor is dry before proceeding with the underlayment installation.
Step 2: Measure and Cut the Underlayment
Measure the area of your bathroom floor using a measuring tape. Mark the measurements on the underlayment material. If you're using cement backer board, use a utility knife to score the board along the marked line and then snap it along the score line. For other types of underlayment, follow the manufacturer's instructions for cutting.
Step 3: Install the Underlayment
- Cement Backer Board: Place the cut cement backer board on the subfloor. Use a drill to attach the backer board to the subfloor with screws. Space the screws about 6 - 8 inches apart along the edges and 12 inches apart in the field. Make sure the edges of the backer board are butted tightly together. Leave a 1/8 - inch gap between the backer board and the walls to allow for expansion.
- Waterproof Membrane: If you're using a waterproof membrane, apply a thin layer of thin - set mortar to the subfloor using a trowel. Roll out the waterproof membrane over the thin - set mortar, smoothing it out to remove any air bubbles. Use a trowel to embed the membrane into the thin - set mortar. Overlap the edges of the membrane by at least 2 inches and seal the seams with a waterproof tape.
Step 4: Check for Levelness
After installing the underlayment, use a level to check if it is flat. If there are any high or low spots, use a sander or a file to level them out. A flat underlayment is essential for a successful tile installation.
Step 5: Seal the Edges and Corners
Seal the edges and corners of the underlayment with a waterproof caulk. This will prevent moisture from seeping under the underlayment and causing damage to the subfloor.
Step 6: Let the Underlayment Cure
If you've used thin - set mortar to install the underlayment, allow it to cure according to the manufacturer's instructions. This usually takes 24 - 48 hours. During this time, avoid walking on the underlayment to ensure it sets properly.
Choosing the Right Tiles for Your Bathroom
Now that you've installed the tile underlayment, it's time to choose the right tiles for your bathroom. At our bathroom tile supply, we offer a wide range of high - quality tiles to suit every style and budget.
- White Bathroom Porcelain Tile: White porcelain tiles are a classic choice for bathrooms. They create a clean and bright look, making your bathroom appear larger and more inviting.
- Bathroom Matt Porcelain Tile: Matt porcelain tiles have a non - glossy finish, which gives them a more modern and sophisticated look. They are also less slippery than glossy tiles, making them a great choice for bathroom floors.
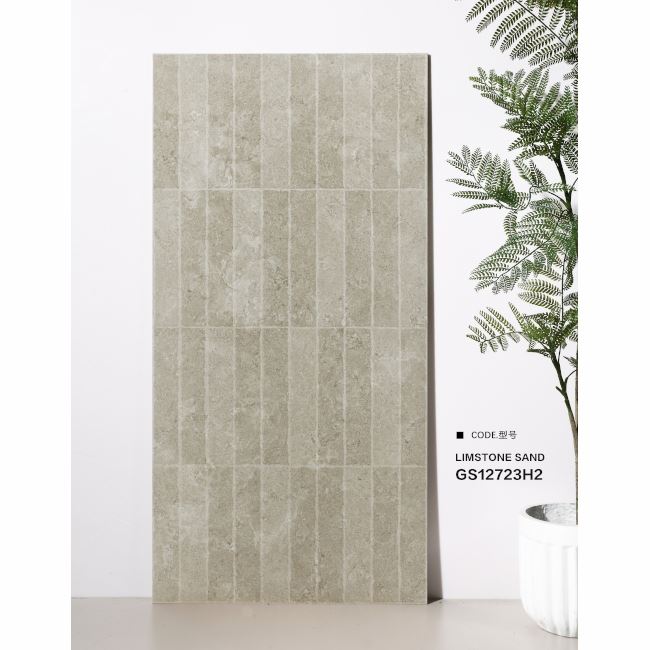
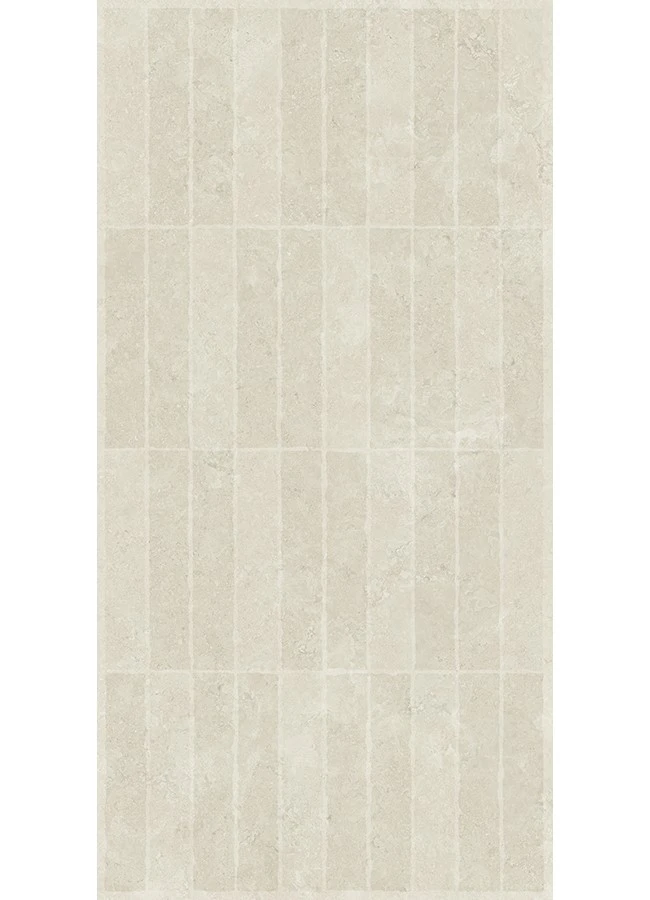
- Beige Bathroom Porcelain Tile: Beige porcelain tiles are a warm and neutral option that can complement any bathroom decor. They add a touch of elegance and sophistication to your bathroom.
Contact Us for Your Tile Needs
If you're looking for high - quality bathroom tiles and professional advice on tile installation, we're here to help. Our team of experts can assist you in choosing the right tiles for your bathroom and provide you with all the information you need for a successful tile installation. Whether you're a homeowner, a contractor, or a designer, we have the products and expertise to meet your needs. Contact us today to start your bathroom tile project.
References
- "Tile Installation Handbook" by Tile Council of North America
- Manufacturer's instructions for underlayment materials and thin - set mortar


